Got a recording you can barely hear, a podcast that’s too quiet in the car, or a song that needs a bump before you add it to your mix? AudioNeo’s volume booster lets you turn up, turn down, or normalize audio volume right in your browser. Adjust by percentage or use the one-click normalize button to hit standard loudness levels. No upload, no signup, free forever.
Why Adjust Audio Volume?
- Quiet recordings: Voice memos, interviews, or lectures that were recorded too low — crank them up without reaching for the volume knob every time.
- Normalize podcast levels: Some episodes are loud, some are quiet. Normalize everything to -16 LUFS and you never have to adjust volume between episodes.
- Car / headphone use: Car stereos and noisy environments need hotter levels. Boost before you go so you can actually hear it on the road.
- Fix phone recordings: Phones record at conservative levels. A 1.3–2x boost usually brings them in line with everything else.
- Make background music louder or quieter: If your background track is too quiet under a voiceover, bump it up. If it’s drowning out the voice, turn it down.
- Standardize for streaming: Uploading to YouTube, TikTok, or a podcast host? Normalize to -16 LUFS and you’ll match platform standards.
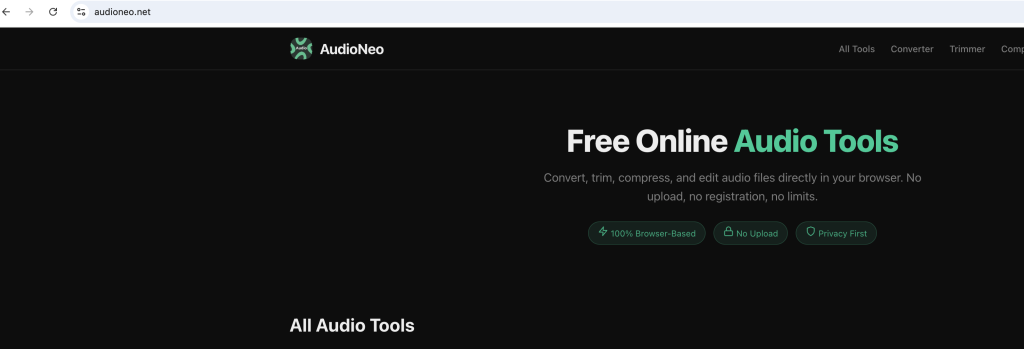
How to Adjust Volume with AudioNeo
Step 1: Open the Volume Booster
Go to AudioNeo Volume Booster. No signup, no install, no browser extension needed.
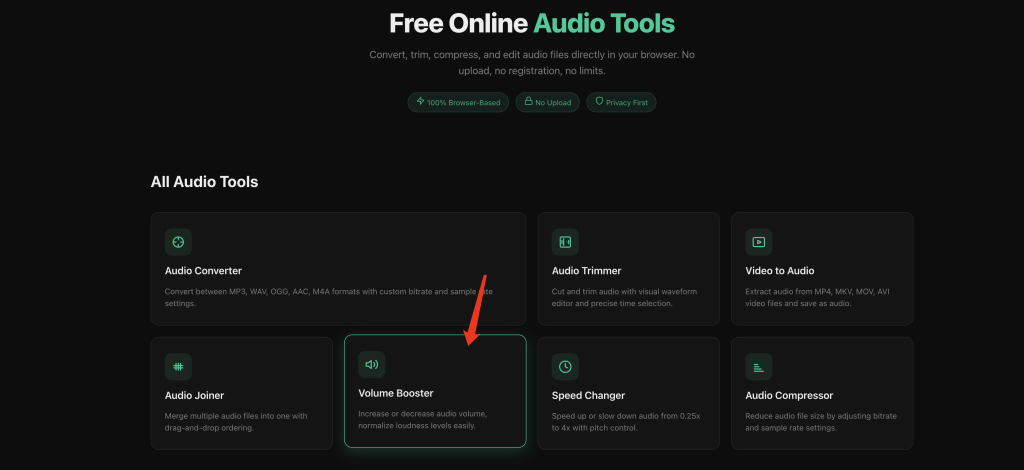
Step 2: Upload Your Audio File
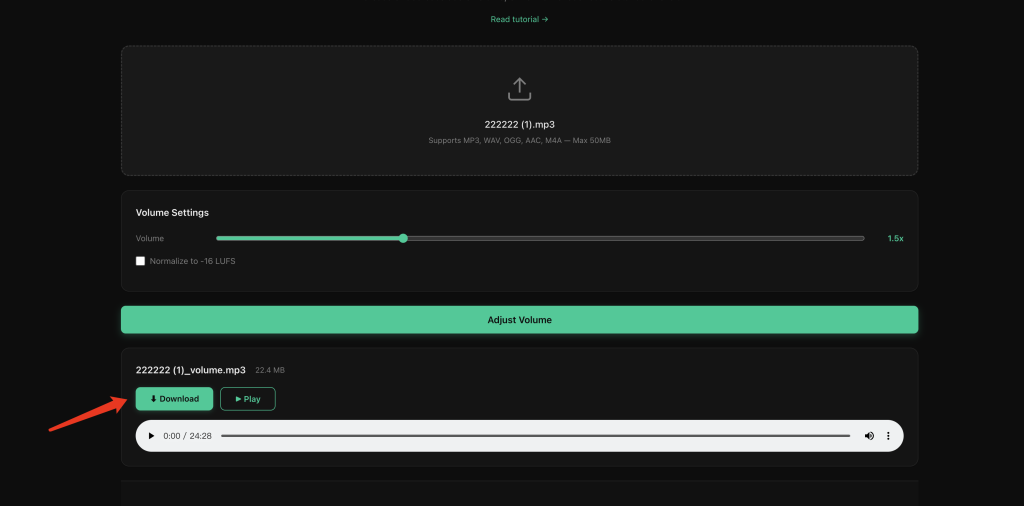
Drag the audio file onto the page, or click the upload area to browse. Works with MP3, WAV, OGG, AAC, M4A — whatever your browser can decode. Max file size 50MB.
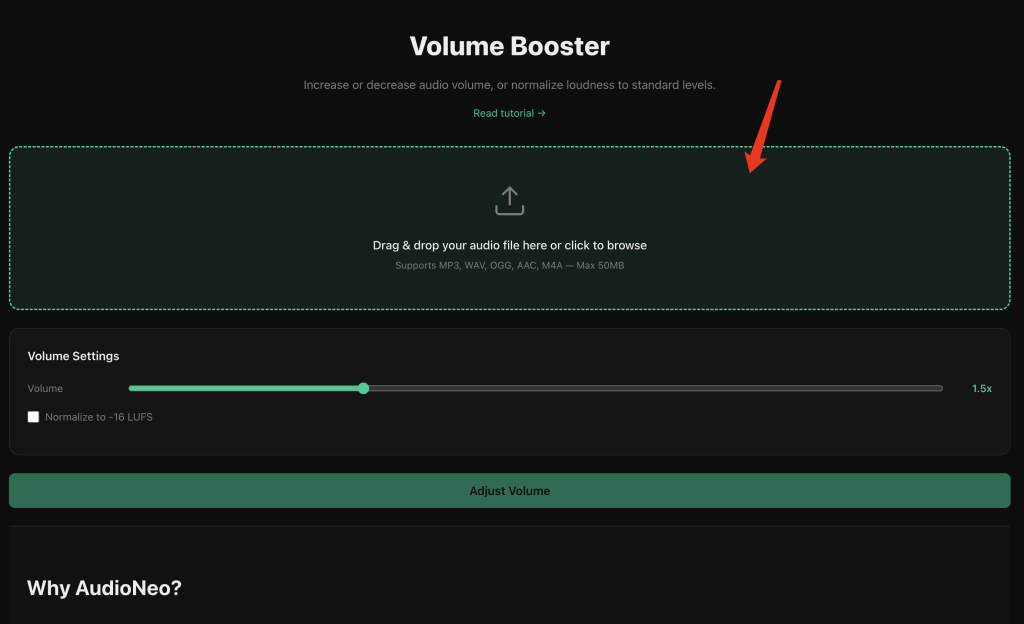
Step 3: Adjust the Volume or Normalize
You’ve got two options:
Manual volume slider: Drag the slider to set the volume multiplier. The default is 1.5x. You can go all the way up or all the way down.
Normalize to -16 LUFS: Click this button and the tool automatically adjusts the volume to match the standard streaming loudness level. Perfect for podcasts, YouTube, and any content that needs consistent levels.
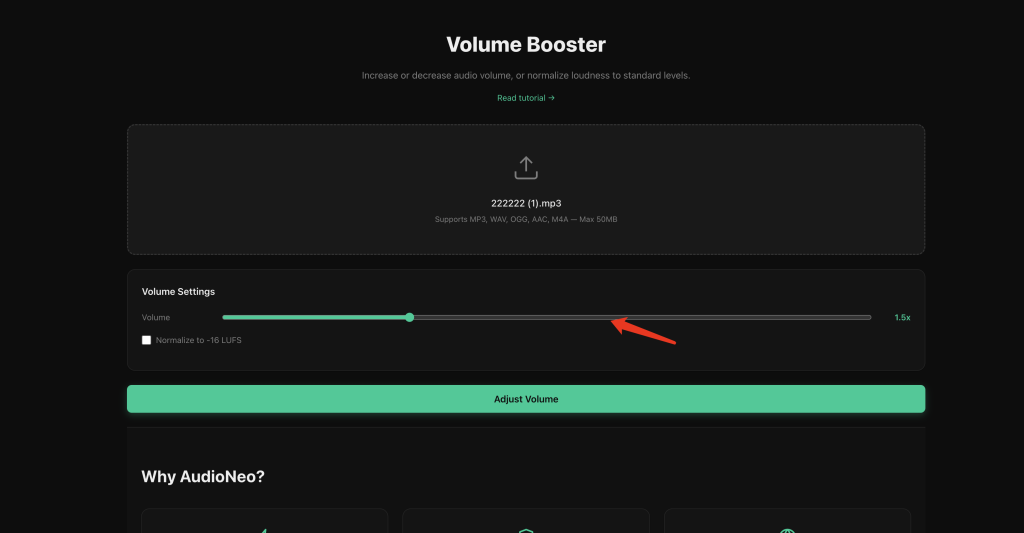
Step 4: Choose Output Format and Quality
Pick your output format (MP3, WAV, OGG, AAC, M4A) and adjust the settings:
Bitrate (64, 128, 192, 256, 320 kbps)
- 128 kbps: voice content, podcasts
- 192 kbps: the sweet spot for music
- 256–320 kbps: high-quality music
Sample Rate (22050, 44100, 48000 Hz)
- 44100 Hz = CD quality
- 48000 Hz = video/streaming standard
Channels (Auto, Stereo, Mono)
- Auto keeps the original
- Mono = smaller file size, great for speech
Step 5: Adjust and Download
Hit the Adjust Volume button. A 5-minute track usually takes 5–15 seconds. The adjusted file downloads automatically.
When to Use Which Mode
Manual volume up (1.1x–2x)
Best for slightly quiet recordings — voice memos, phone recordings, soft podcast episodes. No risk of clipping, just makes it easier to hear.
Strong boost (2x+)
Only for very quiet source material. At these levels you’re more likely to get clipping on peaks. Use the normalize button instead if you’re not sure — it finds the best level automatically.
Normalize to -16 LUFS
The easiest and most useful mode for most people. One click and your audio matches the standard loudness used by YouTube, Spotify, Apple Podcasts, and most streaming platforms. No guesswork, no clipping, perfect level every time. Use this for:
- Podcast episodes before publishing
- YouTube audio for video projects
- Any content you’re uploading to streaming platforms
- Making sure all your files play at the same perceived loudness
Turn volume down
You can also lower the volume. Great for background music, ringtones, or anything that’s too loud.
Tips for Clean Results
- Start with the best source you have: Boosting a bad recording just makes a louder bad recording. If you can re-record at a better level, do that first.
- Use WAV output for quality: If you’re going to edit the file later, output as WAV to avoid adding another layer of lossy compression.
- Normalize is usually better than maxing out: You don’t need to push the slider to the max. Normalize to -16 LUFS and you get perfect levels without clipping.
- Beware of background noise: Boosting volume also boosts background noise, hiss, and room tone. If your recording is noisy, a noise reduction tool might help first.
- Normalize multiple files the easy way: Got a bunch of files that need matching levels? Normalize each one to -16 LUFS and they’ll all sound consistent.
Why Use AudioNeo?
- 100% private: ffmpeg.wasm runs in your browser. Your file never leaves your device.
- No upload wait: Drop a file and it starts processing instantly. No waiting for uploads to finish.
- No registration: Open the page, adjust volume, download. No email required.
- Boost, reduce, and normalize: Three tools in one — turn up, turn down, or one-click normalize to standard levels.
- No watermark: The output is a clean audio file with no branding.
- Completely free: No “free trial”, no credit card, no pro plan upsell.
Frequently Asked Questions
Will boosting the volume make my audio distorted?
It depends on how much you boost and how loud the original was. Small boosts (up to 1.5x) on most files are fine. For louder originals or heavy boosts, peaks can clip and cause distortion. If you’re not sure, use the normalize button — it automatically finds the right level without clipping.
What’s LUFS?
LUFS stands for Loudness Units Full Scale. It’s the standard way to measure perceived loudness across the audio industry. -16 LUFS is the target level for most streaming platforms like YouTube, Spotify, and Apple Podcasts. Normalizing to -16 LUFS means your audio will match the volume of everything else on those platforms.
What’s the maximum volume boost?
The slider goes well above 2x — more than enough for most use cases. But honestly, if you need more than that, you probably want to normalize instead.
Can I also lower the volume?
Yes. The slider works both ways, so you can use the same tool to make audio quieter. Useful for background music, ringtones, or anything that’s too loud.
What audio formats are supported?
The tool accepts whatever your browser’s audio decoder supports: MP3, WAV, OGG, AAC, M4A, FLAC (in some browsers), and more. The output format is whatever you choose in the settings.
Does adjusting volume reduce quality?
There’s always some re-encoding when you output to a lossy format (MP3, AAC, OGG), but the volume change itself doesn’t degrade quality — it just scales the audio data. For best quality, choose WAV output.
Can I normalize multiple files to the same volume?
Not in batch yet — the current version handles one file at a time. But you can normalize each one individually to -16 LUFS and they’ll all be at the same standard level.
What’s the maximum file size?
50MB. That covers most songs, podcasts episodes under an hour at 128kbps, or voice recordings of several hours.
Does AudioNeo work offline?
Yes, once the page has loaded. The WebAssembly engine gets cached by your browser. After the first load, you can disconnect from the internet and still use the tool.
Is it really free? What’s the catch?
It’s really free. No catch, no trial, no hidden fees. The tool runs entirely in your browser, which means our server costs are almost zero. That’s why we can keep it free forever.
More Audio Tools
- Audio Converter — Convert between MP3, WAV, OGG, AAC, and M4A formats
- Video to Audio — Extract audio from MP4, MOV, WebM video files
- Audio Trimmer — Cut the beginning, end, or middle of any audio file
- Audio Joiner — Merge multiple audio files into one
- Audio Compressor — Reduce dynamic range for louder, more even audio
- Speed Changer — Speed up or slow down audio without changing pitch